How to Create a Quality Chatbot with a Contractor
Every company has its own standards, rules, and terms of cooperation. I won’t speak for others, but I can tell you in detail about our system and approach.
This article will be useful if you know nothing about development in general. If you already have experience with web development, for example, creating a website or an online store, it will be easier for you to understand the process.
Make yourself comfortable — let's get started!
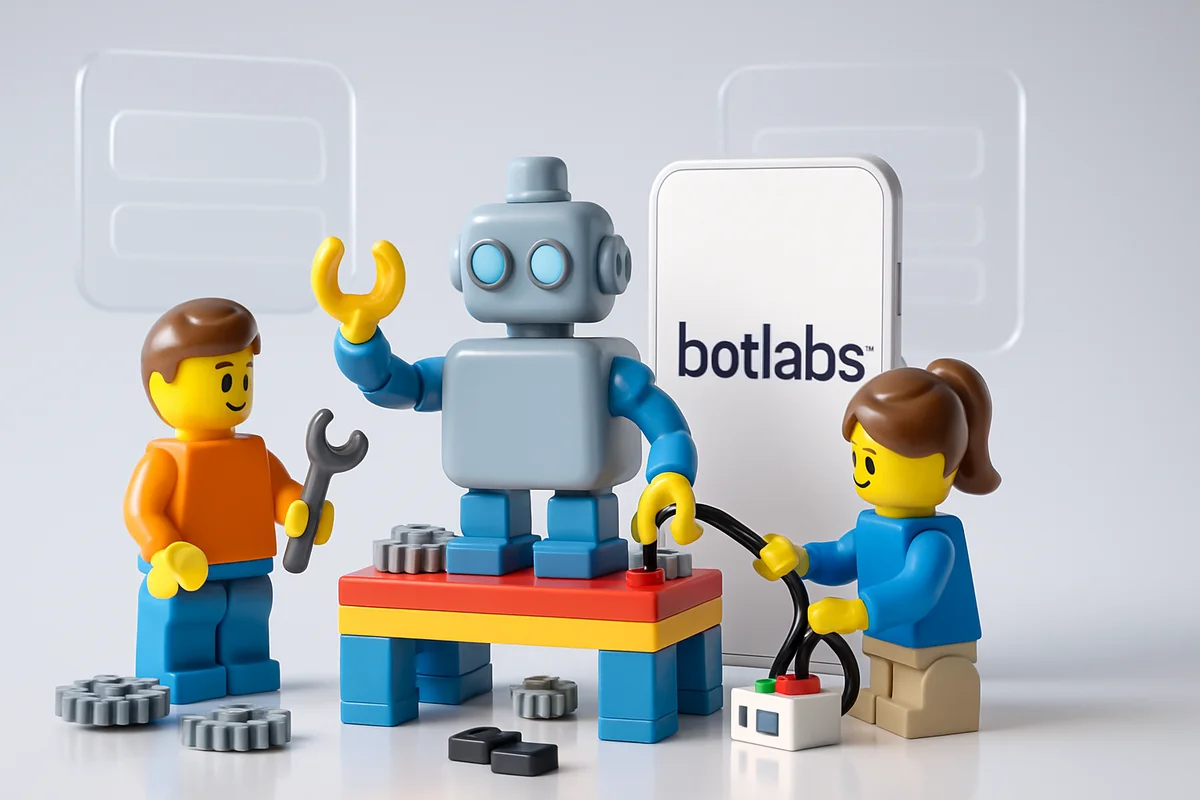
1. Gathering Product Requirements
At this stage, responsibility lies with both parties:
1) The client should describe their idea and wishes to the developers as thoroughly as possible
2) The developer must ask the right questions to fully understand the client's task
This is the first and one of the most important stages — as you name the ship, so shall it sail.
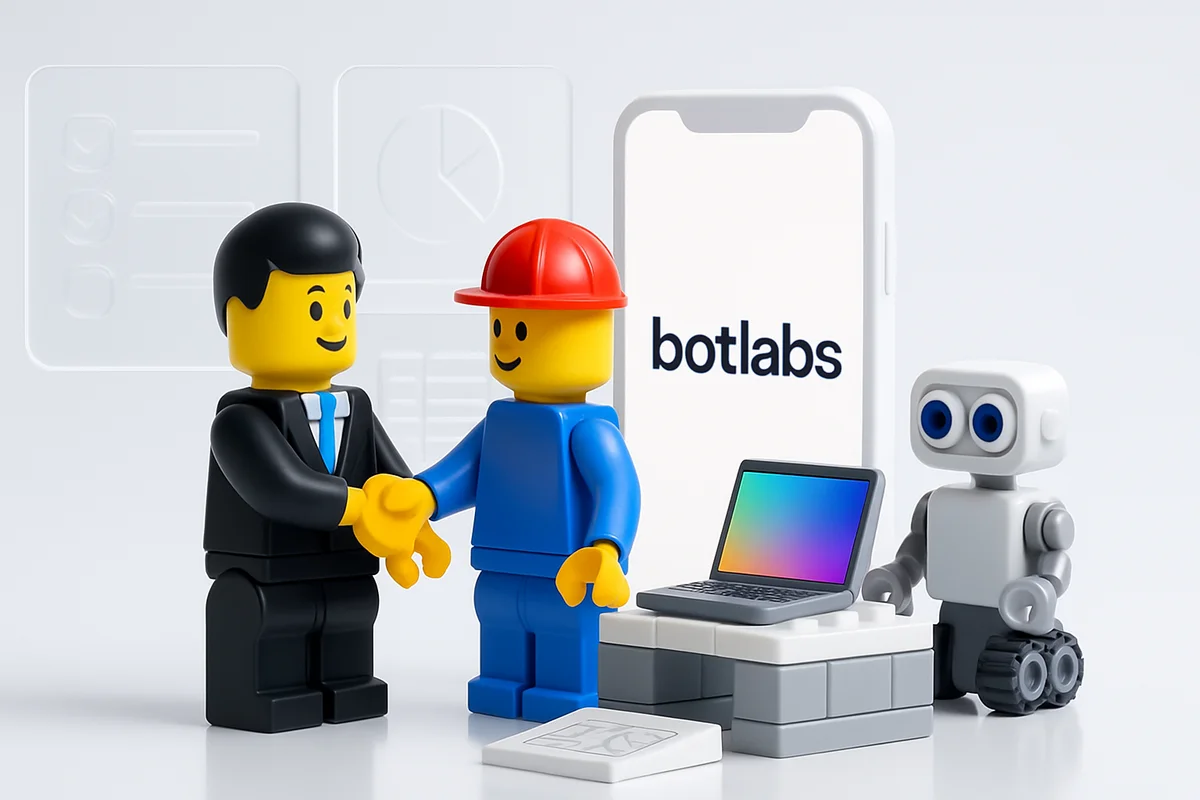
2. Agreement Approval and Prepayment
Outsourced development is a service. And a service implies contractual relations between the client and the contractor. At this step, it’s important to settle all legal nuances, agree on the start and end dates of the work, and make a prepayment. If the task is performed using Scrum, we agree on the first backlog and payment for the first sprint.
Our company requests 50% of the project cost upfront if it’s a typical waterfall project.
3. Start of Development
This stage begins with introducing the client to the project manager — this person will be responsible for communication, reporting, and controlling all processes during development.
Chatbot development includes the following steps:
- Writing the technical specification (TS)
- Creating a prototype (if needed)
- Assigning tasks to developers
- Programming and layout
- Design (including for Viber)
- Organizational matters: accesses, email, reporting, clarifications
4. Testing and Delivery
At this stage, the development team presents the code to testers and the manager. The goal is to find all deviations from the TS and send them back for revision.
The manager can already show the product to the client and provide access for testing. The client has a set timeframe for testing.
5. Final Payment and Launch
Before launch, the client pays the remaining amount. The project is transferred to the client’s servers — and the “go-live” begins.
Real users start working with the product, find bugs, and we promptly fix them.
6. Completion and Optimization
After fixing the main bugs, which are most often caused by different load levels or unexpected user cases, we sign an act of completed work with the client. Only after this can the project be considered finished.
7. Development and Support
If the project requires support or server maintenance, we sign a contract with the client for a period of 3 months or more. Monthly payment with a fixed number of programming hours.
Who needs paid support?
- Those who attract a lot of traffic to the product right after launch
- When even a few minutes of downtime can lead to significant profit losses
- If you want to forget about all worries and simply contact the developers with any question
Clients often don’t understand why a project needs support. But ask yourself: why service a car if you’ve already bought it new? Here are real reasons for problems that may arise:
- Updating various libraries and system components
- Server failures
- Code errors due to limited time for programming or testing (because everyone always wants it cheaper)
- Hacking and injections
- DDOS attacks
- Storing system and database backups
Conclusions
If you plan to skip any of these steps, your product is unlikely to turn out as perfect as you imagine it. You can replace or perform a certain step yourself — it’s possible, but you shouldn’t skip it.
Wishing you successful projects!
Need a chatbot for your business?
We automate your processes and boost sales.